Soap-Making 101: Prepping Skills to Learn Now
“Soap and water and common sense are the best disinfectants.” –William Osler.
The average American consumer spends almost 90 dollars a year on soap and detergents. Once you’ve made a batch of your own soap, you may never use store-bought soap again. Soap making is incredibly easy, and it’s an excellent skill to have after a disaster if you are homesteading or just want to pick up a highly addictive hobby. One large batch can provide you, your friends, neighbors, and their friends all the soap you could need for months and months.
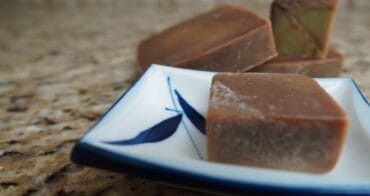 In this video, I will make a simple batch of fragrant soap using oil, and sodium hydroxide, commonly known as lye. Because there is some chemistry here to get it right, I have done all the calculations for you. Lye is highly corrosive in its pure state and can cause chemical burns, so you will want to wear hand and eye protection and even a mask. You will also want to mix these chemicals in a well-ventilated area or outdoors, as the sodium hydroxide can give off poisonous gas. Don’t let this scare you, though. You won’t have to worry if you practice reasonable safety precautions, as I will outline here. I will take you step-by-step through what you need, the recipe and method, an example of a usable failure, and then a bit of the history on soap, fats, lye, and my shocking theory about the origin of soap. By the end of this video, you will have a batch that works that you can play around with and tweak however you like. Since these oils are shelf-stable for about 24 months or more, you could get a kit for soap-making boxed in your prepping supplies. The soap itself is also shelf-stable for almost two years so that you can make all the soap you would need for two years in just about an hour.
Soap-making has been around for at least 5,000 years. Using the more refined sodium hydroxide that is Lye began in the 1800s. So, it’s probably pretty certain that one of your ancestors made soap or at least knew how to. Whether it is cost-savings or building your prepping skills, let’s rediscover the soap-making process for ourselves…
WHAT YOU WILL NEED
For this recipe, you will need
- 8 ounces of lard
- 8 ounces of Crisco (here I am using what is called “new Crisco” in that it has Palm Oil in it. Old Crisco doesn’t have that ingredient)
- 8 ounces of Olive Oil
- 8 ounces of Coconut oil
- I’m using one tablespoon Matcha powder, hoping for a light green tinge. This, initially, made my soap a dark brown, but after curing, it took on a more green tinge.
- For fragrance oils, I used one total ounce of a combination of tea tree oil, eucalyptus oil, and just a little citronella oil. You can use whatever oils you like; just keep it to one ounce for this recipe.
- Sodium Hydroxide, food-grade. 4.54 ounces. You could use 100% lye drain cleaner, and many soap-makers use just that. I use food-grade sodium hydroxide. The only difference between the two is that food-grade is tested to make sure it is free of other chemicals or contaminants before you can call it food grade, even though you would never eat this stuff. Drain cleaner doesn’t need to be tested in this way. It’s probably 99% the same, but it isn’t guaranteed. The difference is perhaps minor to non-existent, but I like to know exactly what I am using, so I use food grade.
- Distilled Vinegar. This isn’t for your soap. It is for you. If you get lye dust on your skin, it will burn. Pouring distilled vinegar on the spot will neutralize the burn. Have a bottle handy in case of emergency.
- 12.16 ounces of water. Distilled is better.
- You will also need one saucepan to warm the oils, a mixing bowl, and an immersion blender or whisk. I recommend an immersion blender because your results will be better.
- I will also use a temperature gauge and a scale to weigh all ingredients. Your ratios and temperatures must be correct for your soap to come out correctly.
- I will also be using an empty milk carton and some standard muffin pans for molding my soap and letting it shape up. You can also use specialty silicone soap molds. With the muffin pans, I do not need to cut my soap. They take longer to harden up completely, and getting them out of the muffin pan can be difficult. Spritzing the pan with Isopropyl alcohol before pouring in your soap or warming it in hot water before trying to remove your soap can help. Here I have cut around it, warmed the pan in hot water, and still had a hard time because the soap had still not set up enough on the bottom. This brown sludge is still caustic lye and will still need time. Just this little contact roughened up the skin on my fingertips. I will put these away to harden for even longer.
By far, the easiest is the milk carton technique. You can tell how hard it is by looking and gently squeezing. When you remove the outer carton, you can cut your bars into the desired size to allow them to continue to harden and cure for 4-weeks on your wire rack.
I will need to let the process complete for at least 48 hours, then remove the carton and cut it into bars. Soap molds are reasonably priced online if you like neatly shaped bars with a more traditional feel. The silicone molds can also be used for baking and other purposes, so they might be a wise investment if you think you’ll be doing more than one batch of soap in your lifetime.
When this process is done, you will want your soap to air cure for at least 4-weeks time. Then you can use it. This allows the soap to harden and ensures all chemical reactions are complete. Using your soap too early may result in it being too caustic, so do let your soap age for at least 4-weeks after this process is done.
THE RECIPE STEP-BY-STEP
The first step is to combine all the solid fatty oils into a saucepan. Put the Crisco, lard, and coconut oil over low heat and stir gently until completely liquid. Then add the olive oil and gently stir 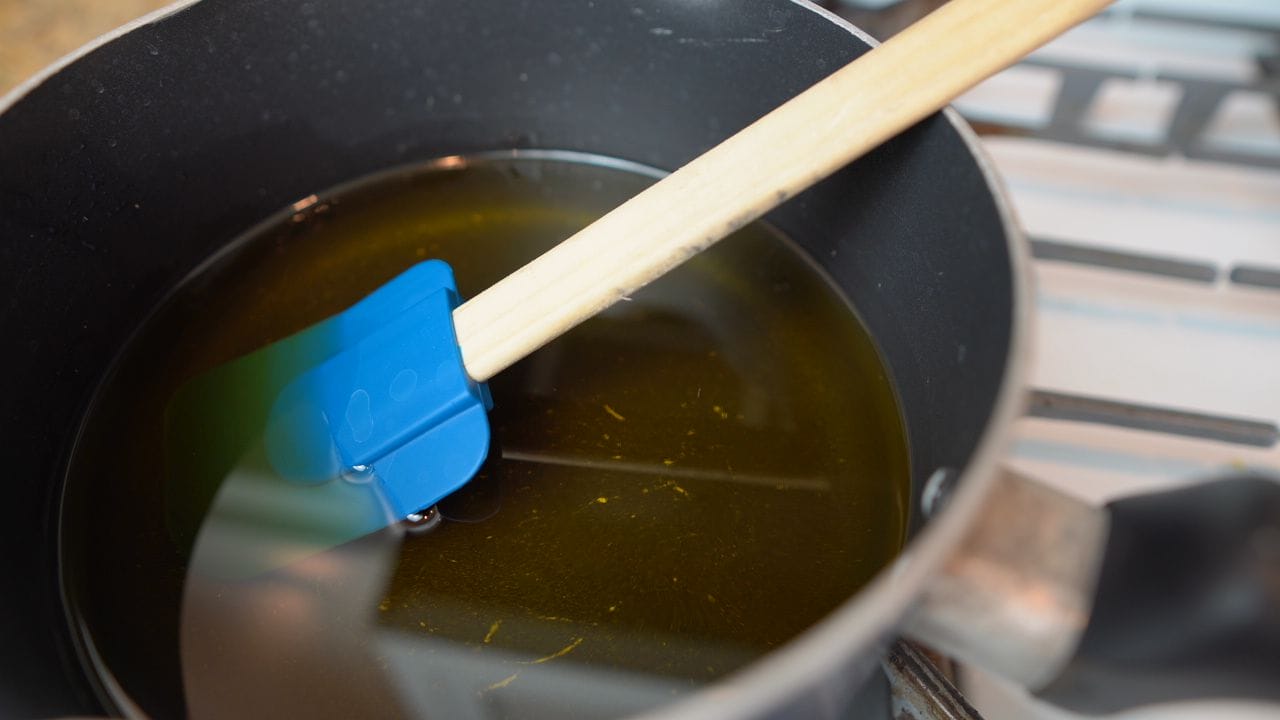 for an additional two minutes until all oils are as one. Pour the oils into your mixing bowl and set aside.
Here I should let you know that you want to avoid plastics and aluminum. The reactive process the lye creates generates heat. Thus you should avoid plastics that may melt. Aluminum is reactive to sodium hydroxide. The reaction produces hydrogen gas, and that is combustible. While that’s good information to know if you want to make a Bunson burner cooker with pieces of aluminum and sodium hydroxide, for this soap-making process, you will just end up destroying your aluminum.
My oil is over 200 degrees. For this process, you want both your lye solution and your oils to be between 120 to 130 degrees, so I will have to let this come down to temperature. When you do mix, you want both your lye solution and your oils to be within ten degrees of each other. You do not have to heat your lye solution. The chemical reaction between the sodium hydroxide and water will do that for you. You will need to stir the lye solution to help it come down in temperature, so I start it while I let the oils cool.
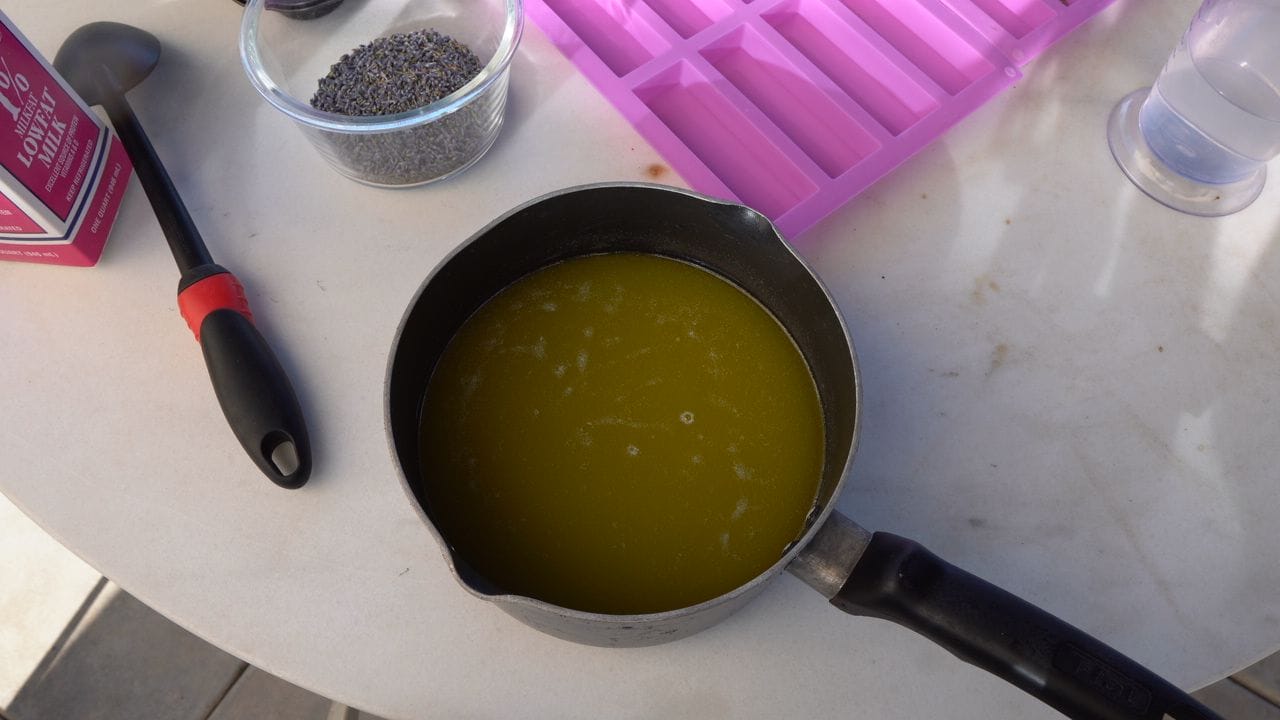 With safety goggles, gloves, and in a well-ventilated area, begin to slowly add the sodium hydroxide to the water, stirring each time until fully dissolved. You never want to pour the water onto the lye. Mix it slowly into the water. Dumping the lye in can result in a volcanic reaction of a caustic chemical. Use lye carefully. If you have ever worked with super hot chili peppers, it is like that, but instead of just a long burning sensation, you will have actual chemical burns and searing pain. Practice good safety. I discuss more about lye, specifically, at the end of this video.
I started this inside, but I moved outside because of the off-gassing. The reaction of the lye with the water will generate heat. When more was mixed, that rose to 155 degrees. When it was all mixed, it hit over 170 degrees. This could do damage to your skin at this point, so you want to, again, practice good safety and maybe do this step without any child involvement.
When both your lye solution and your oils are between 120 and 130, you are ready to begin mixing. Here too, you use a little at a time. You can see that just putting in a little starts the process. Mix slowly, combining just stirring and short pulses with the immersion blender. The temperature will stay pretty stable at this point. Keep stirring and pulsing until you have what is called trace. That is a slight pudding-like consistency. Here it is still too thin. When it starts to thicken, and you have a slight trace, add in any fragrance oils and colorants. These will also harden your mix.
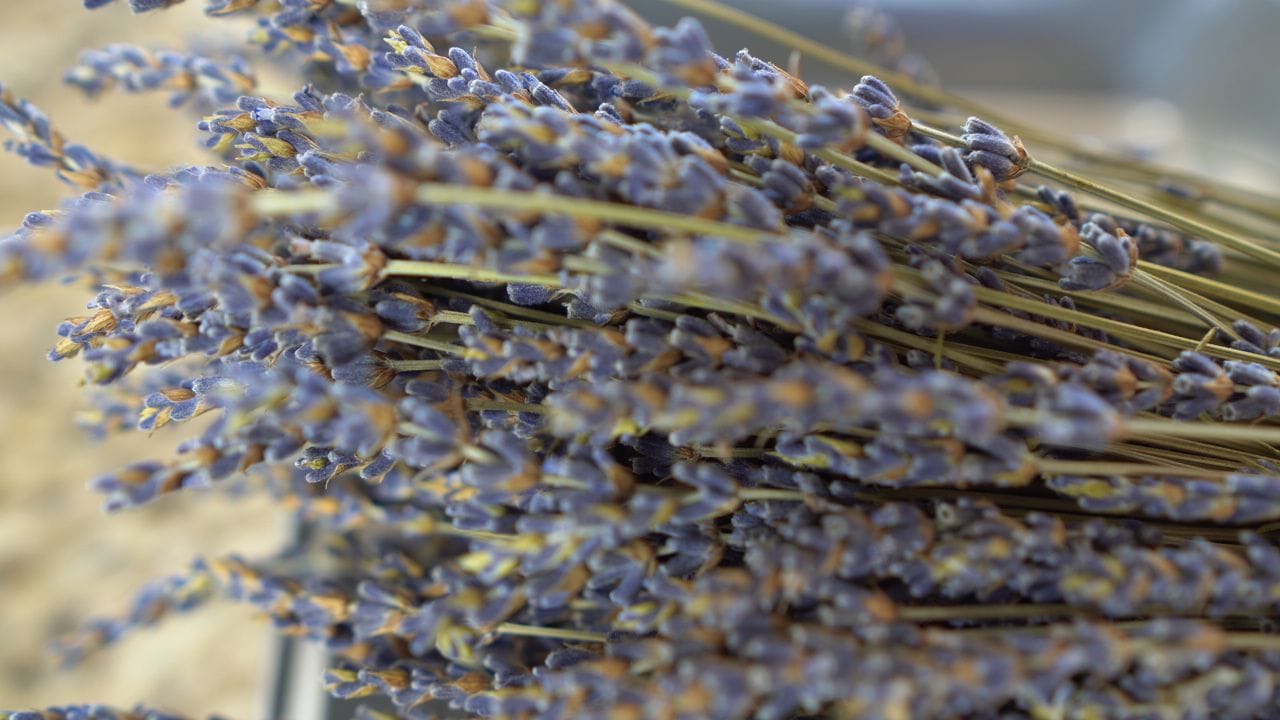 If you use fresh herbs like lemongrass, sage, lavender flowers, or wood shavings, you will fold those in last. Realize that the high lye ratio can alter the look and feel of your soap, oxidize the ingredients and give you something other than planned. Here my super green matcha tea ended up making a brown soap, but the color mellowed to a greener tinge after a few days.
In this previous batch of lavender soap, I tried to use lavender flowers. I show you this ugly batch because soap-making can go wrong too. The flowers turned brown and resembled mouse poop. That’s definitely not the look I wanted. When you see flowers mixed in your soap bar, it is likely a melt and pour soap. In that case, the lye saponification has already occurred and finished. You are merely reshaping already made soap.
This failed lavender soap is still functional once I remove the saponification from the top. It’s just not pretty. I used liquid milk in this batch and probably should have used powdered milk. I also probably didn’t let it saponify long enough. I should have given it longer than 48 hours or more to set up, especially since I used molds. Also, introducing biological materials like lavender flowers to the caustic sodium hydroxide could have caused problems.
Nevertheless, the soap is usable. I will rinse the goop off, set it on wire racks to cure for a month, and then see what I have. It’s possible to rebatch failed soaps, though some soap makers are wholeheartedly against that. Despite all your hard work, the point here is that soap can go wrong. You need to practice your formula with the fats you know you will be able to access ahead of time.
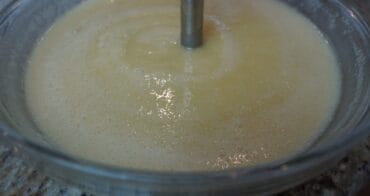 Once you have a good pudding consistency, pour your soap into the molds you are using. I have a batter funnel I use when I make hot sauce, and it will work excellent for this purpose. I will link to some of the ingredients and equipment in the comments below. Again, the nice thing about muffin pans is you end up with a perfectly shaped bar of soap of equal sizes. For the milk carton technique, which some prefer, just pour the soap into the milk carton. After a few days, you can peel away the container and cut it into bars after it has saponified. Wait too long, though, and it will be hard to cut. Wait too little time, and it will be too soft. Again, practice makes perfect when it comes to soap making.
Finally, you want this to cool slowly. You can put it in a box and put a few towels over it to insulate the heat and reduce its escape rate. Here, I am using a styrofoam cooler I have. I just place each mold in there with cardboard separating them, then seal it up. Leave it alone for at least 24 hours. I’m going to let mine sit, sealed, and untouched for a total of 48 hours. After that, remove your soap from the molds, cut if necessary, then place it on a wire rack to let it air cure for 4-weeks. That’s it– maybe an hour to make and 4-weeks to cure, then you have the best soap money can buy.
There are several calculators online for soap making that will take you through the ratios based on the fats and oils you are using. I will link to a few below, but I would start with this recipe. Maybe leave out the matcha powder and choose an ounce of a different fragrance essential oil, but stick to this recipe. I have done the math for you and guarantee that this recipe will give you a hard, cleaning, conditioning soap that bubbles enough and is creamy enough. The science is hard and takes some practice, so start with this basic recipe if it is your first time so you can avoid some of the failed batches I have made.
HISTORY, FATS, & LYE
The use of soap dates back almost to 3000 BC with the ancient Babylonians. The Ebers papyrus, an Egyptian medical document from about 1500 BC, describes combining animal and vegetable oils with alkaline salts to form a soap-like material used for treating skin diseases, as well as for washing. Hardwood ash would be mixed with animal fats and sometimes clay to create a type of soap. One common practice was to run water through the ash from hardwoods. This would strain off a lye-like compound. When that was mixed with animal fats, saponification would occur. Saponification is a process by which triglycerides are reacted with sodium or potassium hydroxide (lye) to produce glycerol and a fatty acid salt called “soap.” Since even Babylonians didn’t waste a single bit of an animal, it’s hard to determine how they would have thought to mix rendered animal fats with lye compounds from wood ash with a bit of water to come up with soap. I will  present one theory here that I haven’t seen anywhere else: soap making comes from animal sacrifice. A fattened animal was burned in a fire. That created the combination of fats and wood ash containing lye. Very likely, the revered sacrificial ashes may have been gathered up, combined with a bit of water, perhaps clay, and soap was born. Nobody knows, and cultures that used every bit of an animal weren’t likely to waste the fat by mixing it with ash, so that’s as good a theory I present here as any other theory.
In more recent history, the English began making soap during the 12th century. Commercial soap making started in the American colonies in 1607 with the Jamestown colony. It was not a retail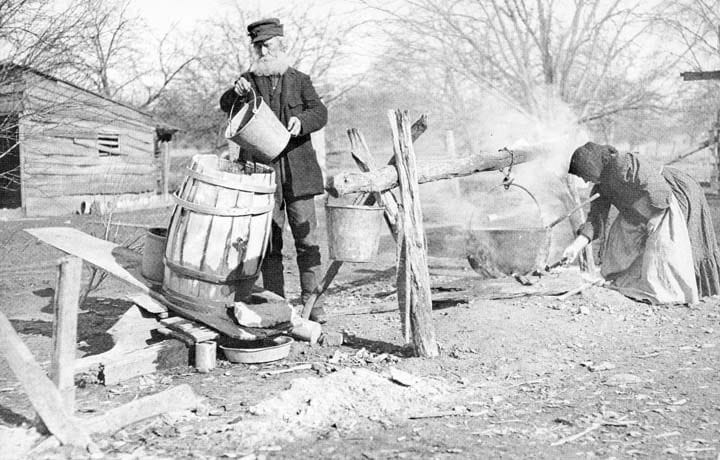 industry as much as it was a necessary household chore in America. Today, soap making has become a hobby and side business for many who have re-learned this skill.
FATS
If the idea of rubbing your body down with soap made from animal fats repulses you, know that you probably already have. Check the ingredients. If your favorite soap has sodium tallowate in it, then it has been made with rendered fats obtained from slaughterhouses. Several name-brand soaps have this ingredient. Using lard or excellent, clean tallow will take your soap to a whole new level. It will be more skin nourishing, and it will lather and clean better. If you have a farm where you process your animals and make your tallow, you absolutely should learn this skill. If you hunt and process the fat, you should know this skill. Then, keep some sodium hydroxide in your inventory. Soap will be a tradeable commodity if the grid goes down for an extended period.
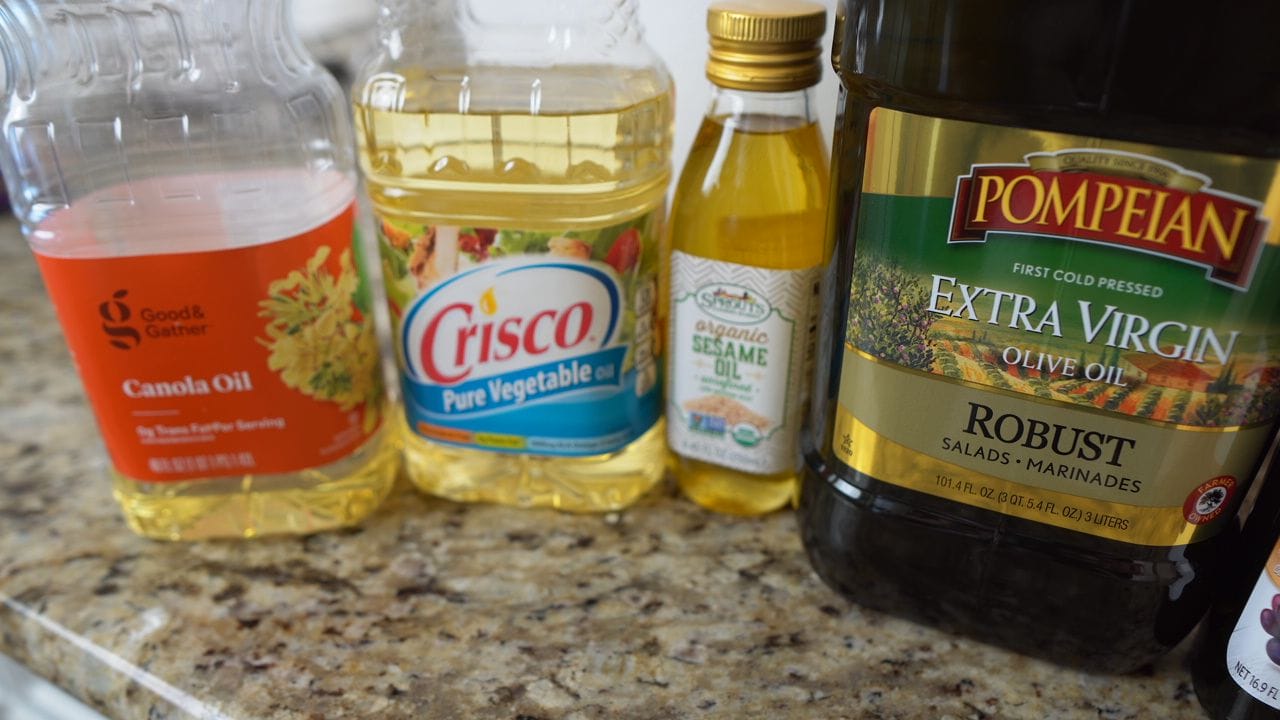 Any fatty oil will work, but different oils will have different results with regard to hardness, cleaning ability, conditioning, bubbles, lather, and creaminess. Most people don’t use vegetable oil because the actual mixture of oils may be unknown, so getting the right lye concentration may be difficult. The fatty acids are linoleic, oleic, stearic, palmitic, lauric, and myristic. Different oils and fats will have different quantities of those. These medium-chain fatty acids will react slightly differently when lye is used. An all-tallow soap lacks 4 of these fatty acids. The result would be soap with almost no cleaning or bubbling aspects. An all coconut oil soap lacks two of these fatty acids and would be great except for the fact that it wouldn’t condition your skin at all. Plus, in a grid-down situation, you may find it easier to access rendered fats from hunting than you would to harvest it out of coconuts. So, you should practice making soaps with different types of oil combinations. Get familiar with the process and results, then focus on a soap recipe based on the oils and fats you could access after a grid-down situation.
LYE
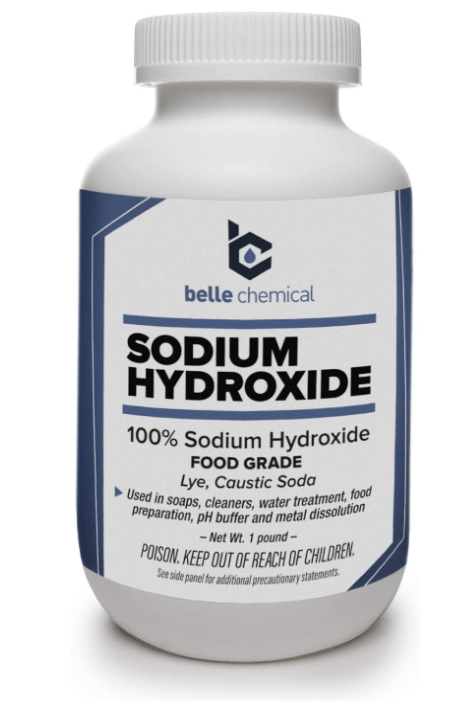 Lye is harmful because it is caustic. If it can create saponification of fats, it can do the same to the fats in your body. Don’t eat soap, obviously, and handle all chemicals with caution. Once the chemical reaction of saponification is complete, and the soap has cured, the caustic nature is significantly reduced. Otherwise, you wouldn’t be rubbing it on your body. As it is soap, though, it can still sting if you get it in your eyes. It is still harmful if ingested. Still, lye is used in some food-making processes. I guarantee you that you have used soap made from lye or some even more dangerous chemical, so don’t fear the lye. Just take proper precautions when using it in its refined state. There really is not a substitute for lye in this process. There are some methods for using plants rich in saponins, but those are harmful to fish in high concentrations and much more challenging to extract, formulate, and use properly.
All that being said, you have to be super careful working with lye. Wear gloves. Wear eye protection. Mix slowly into the water. Don’t dump the water on the lye, or you might have a volcanic reaction. If you have ever worked with super hot chili peppers, the burn is like that, but you will have actual chemical burns and searing pain instead of just a long burning sensation. Practice good safety.
__
Having some sodium hydroxide, or lye, in your prepping inventory can be valuable for making cleaning agents like soap. Understanding how to make soap is a critical skill that builds your knowledge base and equips you with a tradeable product long into any grid-down situation. Just basic hygiene can significantly increase your odds of survival. There are other uses for sodium hydroxide, perhaps the topic of another future video, but for now, give this basic recipe a try. Let me know in the comments below how it turned out for you. I read many of the comments and respond to them when I can, typically within the first hour of releasing a video. I can notify you when other videos become available if you take that step to subscribe to this channel and give this video a thumbs-up.
LINKS:
Soap Calculators
http://soapcalc.net/calc/soapcalcwp.asp
https://www.soapguild.org/lye-calc.php
Soap Molds – https://amzn.to/31tJHFx
Food Grade Lye – https://amzn.to/3IhQOl1
Batter Funnel – https://amzn.to/3puGPzY (so worth it)


Thorough, well-explained, with great backgrounder on history of soap-making, an unexpected bonus.
Thanks! Who would have thought soap making may have its roots in animal sacrifice, but there’s a good amount of indicators that it may have.
Good article, however some of your information is inaccurate.
Soap is safe to use after saponification is complete. This happens in as little as 18 hours, depending on what fats you’ve used. However, if you do use it when you cut it (and I have) it will be soft and dissolve fairly quickly (a week or less depending on how often you use the bar). The cure time is to allow the water within the bar to evaporate, and the bar to harden so it will last longer.