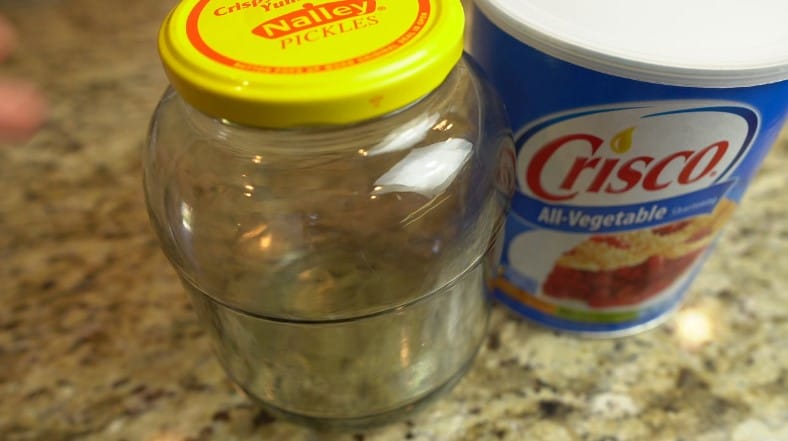
 For this candle, you will need a jar. You can use a mason jar that will be less prone to cracking from the heat, but we will use an old pickle jar. That will be closer to what you might have on hand after a disaster. When selecting a jar, you want to make sure the glass has no air bubbles in it. When heat is applied to a jar with air bubbles, it causes the air in the bubble to expand and the glass to crack. We will also heat this glass before adding hot oil to it as a precaution against cracking.
For the oil, we are using off-the-shelf Crisco. Modern formulations of this product have Hydrogenated Palm Oil and Soybean Oil. Both of these will burn slower. They will also stay relatively solid at room temperature. Finally, we need a candle. we could go with a small long burning candle or Beeswax candle, but we want to emulate your post-disaster situation, so we are going to use a tapered Christmas candle.
MAKING THE CANDLE
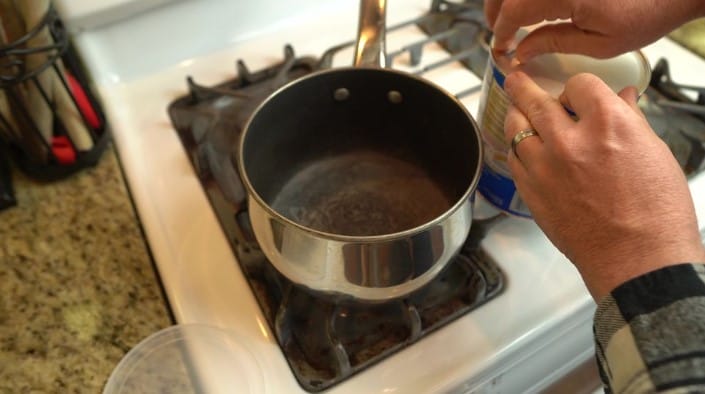
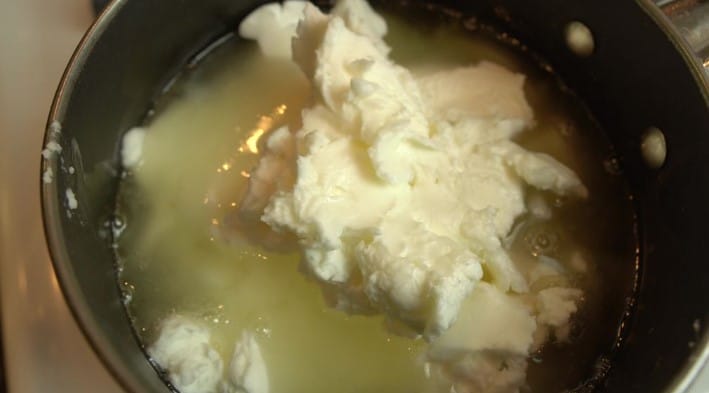
 Start by gently melting the Crisco in a saucepan. Our jar is about 48 ounces, and my can of Crisco is the same, so we will liquefy the entire amount. You don’t want to use the Crisco can itself because it is cardboard. You could in an emergency because the heat generated by your single flame isn’t that great, but glass will be a safer option for your candle. As the Crisco is liquifying, you will want to size your candle to be an inch to one-half inch below the top of your jar. This can be done pretty easily by measuring and then just rolling your knife on it on a cutting board. We want to use the thicker part to give it more wax, so we taper the end of the candle then set it aside.
When the oil is liquified, turn off the heat and remove it from the burner. It will stay liquid even as it approaches room temperature, so let it cool down to below 120 degrees or so before pouring. We heat the jar with hot tap water to around 120 degrees. If you are doing this in a mason jar, you could heat the jar in a hot water bath or even the oven. The idea is to avoid putting hot oil on cold glass. We just added the shavings in here because waste not want not. You can add essential oils like citronella, geranium, lavender, or eucalyptus to make your candle also act as a kind of insect repellant; but if you leave it just pure oil and wax, you will be able to use the Crisco for cooking or one of its many other post-disaster uses if you need to. You could still cook over the flame in a container, even with scented oils, but you can’t use the oil in your cooking without also making everything you cook taste like an essential oil.
When the temperatures are close, and your oil has cooled sufficiently, ladle it into your jar. When the glass is heated enough, and the threat of cracking has subsided, you can pour the oil into about 2 inches from the rim of the jar. Put the lid on and place it in the refrigerator to solidify again. After about 2 hours, the oils will have hardened enough to be soft but firm enough to insert the candle. Insert the candle, so only the top half-inch to an inch is out of the solidified oil. Return it to the refrigerator to harden even more.
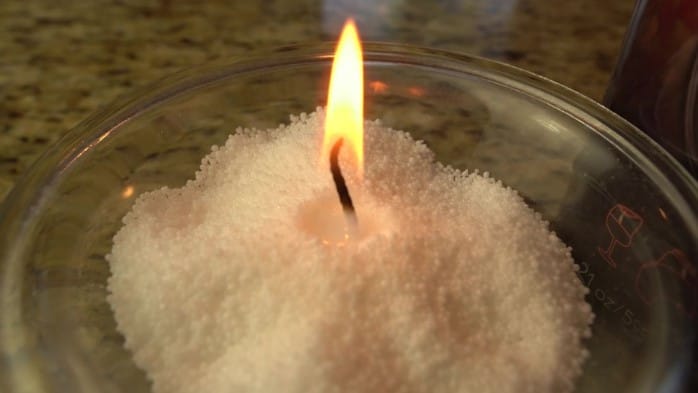
After about another hour, use the end of a spoon to make a small trough around the candle. This will create a pool of wax that will form and slowly uptake the oil to keep your fire burning. You can use your finger for this too. We also take about two pinches of salt and sprinkle them around the flame area. The sodium will help extend the candle’s life just ever so slightly by regulating temperature by just a few degrees. That may be a myth, but it’s something we learned a long time ago, and we have no reason to doubt that it’s true.
That’s it. You just made an emergency candle. It’s terribly simple, and even if you don’t have refrigeration, your Crisco will solidify enough to prevent your candle from moving. Let me explain all of the reasons why this works as we light it and put it to the test.
WHY THIS WORKS AND EVERY OTHER QUESTION
 This works for several reasons. First, it’s not solely a wax candle. Beeswax, Soy Bean Oil, and Parafin candles will give you the greatest burn time when it comes to waxes. Here, the candle is more of a catalyst and a wick. The oil part is similar to an oil candle, but oil candles alone are difficult to keep lit without a decent wick. So, this candle marries the best of the wax candle with the best of an oil candle.
Hydrogenated Palm Oil and Soybean Oil will give you the longest burn times for the oils. You could use any vegetable or even animal fats, but the vegetable oil will provide you with the cleanest and longest burn. You could use rendered lard, but the flashpoint is lower (370 degrees versus 470 degrees), and your area may be smokier and smell like cooking meat. This candle will work best in colder climates and on colder days. If the ambient temperature is too hot, your vegetable shortening can liquify again, and your candle will not stand straight. That’s not a problem once your oils harden off again.
Our go-to candle in an emergency is these storm candles, jar candles, or prayer candles. The slim cylindrical glass holder also protects the flame during high winds. I always make sure to have a half-dozen in my inventory in case the lights go out. They say these will burn for about 90 hours, so this will still be my go-to candle.
Other models like this one can burn for 36-hours. It uses the longer burning Soy and Palm oils like we do here. It has a 3-wick system and advertises 12-hours per wick. Evenly burning may be a problem with this type of candle, though it claims to have a dam board system separating the wax areas. We think you would still get a solid 36-hours out of the candle. It has fantastic portability for a camping pack or bug-out bag, and the 3 flames make it easier to cook over.
Finally, there’s this 100-hour candle powder wax setup. This candle kit includes 21 ounces of unscented palm wax powder and 20 wicks that last for 8 hours each. This lets you make an impromptu candle out of just about any container, as the wax powder beads will melt around the wick. We think this one is great for versatility, and it still retains a lightweight and portable profile.
So, there are options available for emergency candles. This wax and oil version we are fashioning out of vegetable shortening is genuinely meant for emergencies, focusing on extending the resources you have or making use of resources you might scavenge for after a disaster.
TESTING IT OUT
 We determined the entire weight of oil and candle used by subtracting the jar’s weight. To calculate total burn time, you can either let the candle burn out completely or determine the rate at which the flame consumes the candle, so we lit the candle and recorded the time. After four hours, we took another weight measurement to note the difference, and it was a half-ounce lighter. After another four hours, we again measured to determine the weight difference, and it was another half ounce lighter. We let it burn through the night and measured every four hours, and it was always precisely a half-ounce. It stayed that consistent through an entire 24-hour cycle. You could keep time by it. That is actually another use for a candle, by the way, as a measure of time. Imagine if you needed to know how long you or someone else was gone. Simply light a candle and calculate the weight difference between when they left and when they got back. Every half-ounce here equals four hours.
Doing the math, though, we had set out to make a 100-hour candle, but we blew that up considerably. At the rate of 1 ounce per eight hours and a starting weight less the jar weight of 37.9 ounces, we can multiply by 8 for the hours. We have created a candle that will burn for an incredible 303.2 hours. That’s just a little over 12-and-a-half days of straight burn time. That far exceeds my expectations. If you were only burning this candle about 6-hours a night, it would last you 50 days.
The final aspect of an emergency candle is how well it stays lit and how worry-free the flame is. We had minimal air circulation and only turned on our house fan for a while during this test, but the flame was steady and not as low as we would have thought. The high walls of the pickle jar protected it from breezes and therefore flickering. The jar’s wide mouth allowed enough oxygen in for the center flame to burn steadily. It was never wildly out of control, as we feared might be a possibility with the oil. It was pretty consistent and steady. It didn’t flicker as much as we expected.
CONCLUSION
So, there you have it. It’s part a wax candle and part an oil candle, and it will stay lit for an incredible 303 hours. 50-days of light, heat, and fire is almost a luxury through a disaster. The flame may be small, but that’s a tremendous amount of light and heat that you can throw together for a few dollars or with pieces you scavenge. Next time you have one candle that, at best, will burn for 3-hours, turn it into a mega-candle with this simple method. Pack all the parts in your emergency storage and consider including essential oil drops if you also plan on using your candle as an insect repellant.
What do you think? Have you made one of these? Any tips, things to try, or definite do not do suggestions? Let us know your thoughts in the comments below. We try to read the comments and respond to them when we can, typically within the first hour of releasing a video. Please consider subscribing to the channel and click that bell icon that will appear next to the subscribe button if you’d like to be notified when we release a video. Give this blog a thumbs-up or leave a comment to help the channel grow.
As always, stay safe out there.
100 hour candle – https://amzn.to/3ImoigW
Prayer Candles – https://amzn.to/3IiJVyD
36 hour candle – survival type – https://amzn.to/3I9kUWz
Oil Candle – https://amzn.to/3KElXiQ
