Here, I’ll demonstrate making cheeses with just three ingredients. Cheese making, an ancient skill, might seem daunting, but it’s simpler than you think. You likely have what you need to make this cheese right now. My first experience making cheese was a milk-wasting mishap, but I researched, dug out some old cookbooks, and found an easier way. Once you try it, you’ll want to make this part of your regular kitchen routine. You will even crave the better taste, and with the current recalls of so many commercial cheeses right now, you will appreciate knowing exactly what’s in your cheese. Your friends and family will be amazed at the flavor and your skills. I guarantee it. Let’s jump in.
What you will need:
- 2 Pots (one with lid)
- Colander or mesh strainer
- A spoon for stirring and straining. I prefer a slotted spoon for this.
- Thermometer
- Cheesecloth, muslin cloth, or similar fine cloth.
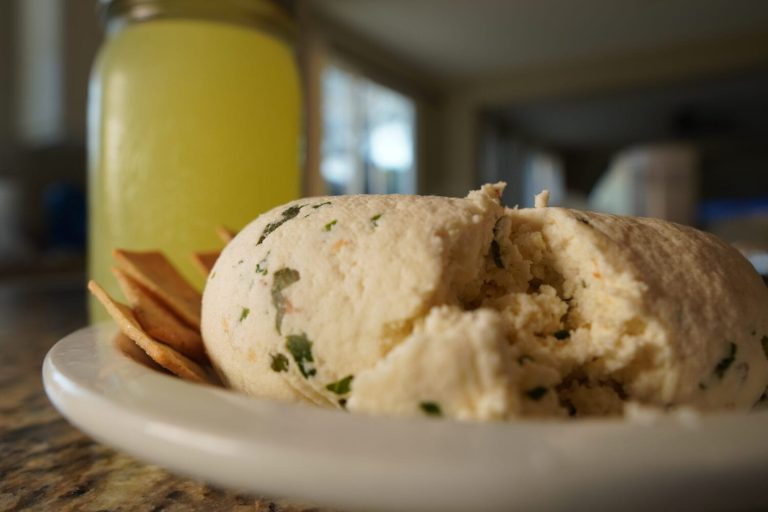
Farm Cheese is probably the most straightforward and most traditional cheese. It gives you a somewhat crumbly cheese similar in texture to Boursin – a creamy, crumbly gourmet cheese perfect for crackers or toast. It has a melting point similar to ricotta.

Ingredients:
- 1-gallon milk, whole pasteurized, is my preference.
- You can use cow, goat, buffalo, camel, whatever, so long as it is whole milk. There’s a host of things you must account for if using unpasteurized milk, so I always use pasteurized milk. Ultra-pasteurized milk may be difficult to make into cheese because the high heat in pasteurization destabilizes the proteins and can challenge curd formation. That’s fine for a yogurt or sour cream but challenging for cheese.
- 1/2 cup white vinegar, red or white wine vinegar, or apple cider vinegar
- 2 teaspoon non-iodized salt. I’m using Himalayan sea salt.
- Optional herbs: fresh dill, chives, basil, nettles, garlic leaves, or other green herbs, finely chopped. I’m using some chives, a garlic leaf, and some parsley that I will finely chop.
Instructions:
In a large pot, gently heat the milk until it is just under a boil at around 190 degrees (88 Celsius), stirring occasionally. If you are using a thermometer, great. If you don’t have one, when the milk is around this temperature, you will see frothy bubbles forming on the side, and steam will come off it when you stir it. Heating the milk accelerates the coagulation process.

When 190 degrees is attained, turn off the heat.
If you don’t gently stir with consistency, your milk at this temperature will scald an brown a bit on the bottom. A little is okay, and will not change the flavor of your cheese. You can pick out larger strands later. Too much scalding, however, will negatively affect curd toughness, texture, and flavor.
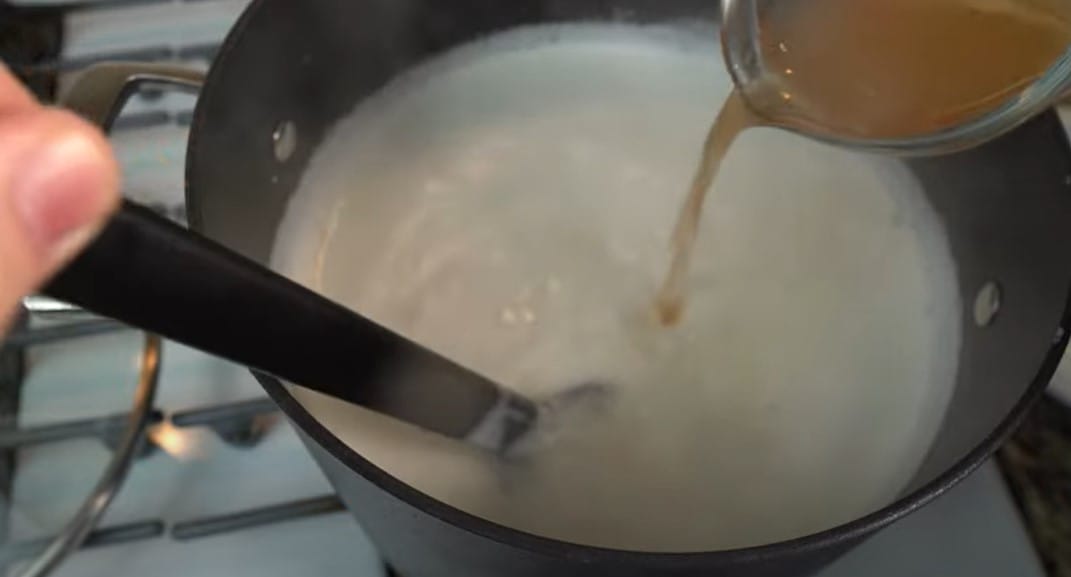
Slowly pour in the vinegar while stirring the milk. This will cause curds to form immediately.
Put the lid on the pot and allow the milk to rest undisturbed for 15 minutes.

Cover a colander or strainer over a large bowl or pot with a damp cheesecloth or a thin, damp, clean dish towel. Pour the curds into the cheesecloth-covered colander. The whey, the liquid part of the mixture, will drain into the bowl beneath, while the curds will be caught in the cheesecloth.
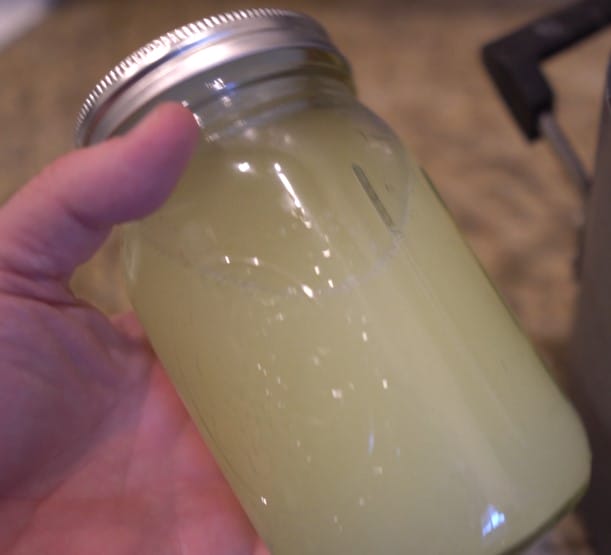
PROTIP: If you are trying to get more protein in your diet, don’t throw out this whey. Store it in the refrigerator for up to a week. Whey is versatile in its uses. It can be used to enhance baking recipes by replacing water or milk, add protein to smoothies, enrich soups and stews as a broth, tenderize meat and vegetables in marinades, thicken gravies, aid in soaking grains and beans, contribute to soap making, and even benefit outdoor plants such as tomatoes and hydrangeas when poured onto the soil.
Add the herbs to the curds if desired.
Add the salt to the mixture and mix well.
Gather the cheesecloth around the curds and gently squeeze and twist to remove excess moisture. I like to twist the ends around a spoon for this process, then gently squeeze with my hands. Once the curds are sufficiently drained, they will have a dry, crumbly texture suitable for farmer cheese. For a creamier consistency, mix in some reserved whey with the curds.

To shape the cheese, keep it wrapped in cheesecloth and mold it into a mound on a plate. You will need to loosen the cheesecloth slightly. Place another plate on top and press down, slowly but firmly, to form a flat disc about 1 to 2 inches thick. Place a weighted object on top. Once it is shaped, place it, cheesecloth, and all in the ice water bath for 5 minutes. This will halt any enzymatic processes and help the cheese to keep its form. Remove from the ice bath, replace the plates, and put them in the refrigerator for approximately an hour before unwrapping the cheesecloth.
That’s it. An easy cheese that requires only three ingredients: milk, vinegar, and salt. Don’t forget the byproduct of whey, which has its own set of uses. Cheese is a nutritious food that provides essential nutrients. This cheese will last for a week or more in the refrigerator, or you can freeze it. This recipe is so easy to make and requires so few ingredients that I put this into the category of a skill you will want to use once a month. Simple cheese making can be a regular routine for you that will ensure you have quality, fresh nutrients, and flavor, not to mention it will utterly amaze your friends and family.






2 Responses
It would be nice to have a printable recipe available.
https://cooked.wiki/new?url=https%3A%2F%2Fcityprepping.com%2Fblog%2Fskill%2Fhow-to-make-cheese-with-3-simple-ingredients%2F